Honestly, I spent my first year in solar quality thinking I’d seen it all. Then I signed off on a shipment of 400W bifacial panels that looked perfect—until we unboxed them for a test install and found micro-cracks across 12% of the units. That was a $22,000 mistake, and the EPC contractor was not happy.
Since then, I’ve built a 12-point checklist that’s saved us an estimated $8,000 in potential rework. This isn't theory—it’s what I actually do when a container of Jinko Solar modules arrives at our warehouse. If you’re a distributor, installer, or EPC contractor receiving a shipment, here’s the exact process I run.
Before You Start: What You’ll Need
This checklist assumes you’re dealing with a palletized delivery of Jinko Tiger Neo or Eagle series panels (e.g., the JKM425N-54HL4-B model). You’ll need:
- A copy of the packing list and purchase order
- The Jinko datasheet for the specific model you ordered
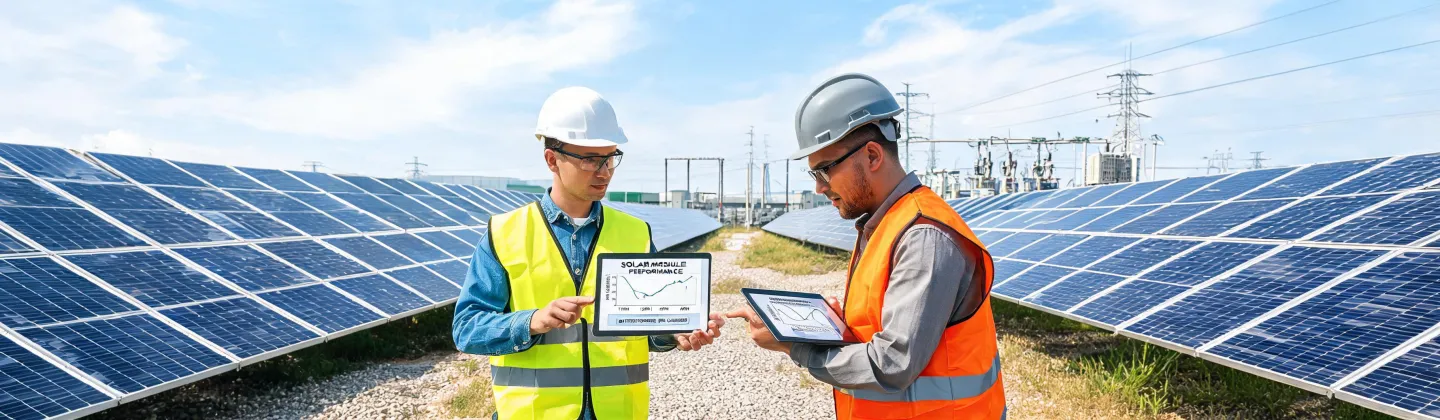
- A multimeter or I-V curve tracer (we use a Solmetric PVA-1500)
- Good lighting and a clean, flat surface
- About 30 minutes per pallet for a thorough check
Let’s walk through it.
Step 1: Visual Inspection — The 3-Foot Rule
This is where most people rush. Look at every visible panel from about three feet away. I can’t stress this enough: 90% of the issues I’ve caught were visible to the naked eye if you took the time to look.
What I’m scanning for:
- Glass defects: Scratches, chips, or edge cracks. A tiny edge chip can propagate under thermal cycling.
- Frame damage: Bent or twisted aluminum frames. If the frame is out of square, the panel won’t sit flat on your mounting system.
- Cell appearance: Discoloration, busbar misalignment, or—the big one—micro-cracks. They look like faint spiderwebs on the silicon. You need good light and a steady hand.
- Label and barcode integrity: Every Jinko panel comes with a serial number label. If it’s peeling, smudged, or looks tampered with—flag it.
Quick tip: I run a flashlight parallel to the glass surface. It casts shadows on any surface-level defects you’d miss in overhead light.
I’d say about 1 in 40 panels from any manufacturer will have some cosmetic issue. The question is whether it’s within your tolerance. For us, anything with a visible micro-crack gets a red tag.
Step 2: Electrical Data Verification — Don’t Trust the Sticker Alone
Every panel has a sticker with its rated specs (Pmax, Voc, Isc). But that sticker is test data from the factory, not a guarantee. I’ve seen panels that were 5% below their labeled wattage.
Here’s my process:
- Set up your I-V curve tracer in standard test conditions (STC) if possible. Real-world conditions are fine, but note the irradiance and temperature when testing.
- Test a random sample—at least 5% of the shipment, or 10 panels, whichever is larger.
- Compare the measured Pmax to the label. Jinko’s power tolerance is typically 0 to +5W for their N-type modules. Anything below the rated minimum is a reject.
- Check Voc and Isc against the datasheet. If they’re more than 3% off, that panel is suspicious.
One thing I learned the hard way: I used to only test panels from the top of the pallet. Turns out, the bottom ones take the most abuse during shipping. Now I pull panels from the middle and bottom layers too. Caught a pallet where the bottom layers had 8% lower fill factor due to shock damage during transit.
Step 3: Packaging and Labeling Audit — The Overlooked Step
This step sounds boring, but it’s where I’ve caught the most expensive mistakes.
What I check:
- Pallet condition: Is the crate cracked? Are the corner protectors intact? If the packaging is damaged, the panels inside might be too.
- Serial number scan: I scan the barcodes on a sample of panels and cross-check them against the packing list. In one shipment, we found 6% of the serial numbers didn’t match the pallet’s manifest. That’s a paperwork nightmare for warranty claims down the line.
- Model number match: Believe it or not, I once received a pallet of Jinko Eagle panels when we had ordered Tiger Neo. Same brand, different series. The packing list said Tiger Neo. The panels said Eagle. That would have been a big problem if we hadn’t checked.
- Accessories: Are the MC4 connectors in the box? The manual? The warranty card? It sounds trivial, but missing connectors can delay installation by days.
This worked for us, but our situation was a mid-size distributor with a dedicated quality team. If you’re a solo installer receiving a single pallet, you can probably skip the full audit. But at least scan the serial numbers and check the model label.
Step 4: Mechanical Fit Check — The “Install” Test
I always mount one panel from the shipment to a test rack. This catches two things:
- Frame tolerances: Does the panel slide into the clamps easily? If the frame is slightly oversized, you’ll fight it on every install.
- Grounding hole alignment: We use WEEB clips. If the grounding holes are off by even 1mm, the clamp won’t bite properly. That’s a safety issue.
In my experience, about 0.5% of panels from any tier-1 manufacturer have a frame tolerance issue. It’s rare, but worth catching before you’re on a roof. We rejected a batch of 50 panels last year because the frame thickness was 0.3mm over spec—enough to crack the clamps from a specific mounting system we use.
Step 5: Documentation and Compliance Review
This is the part that feels like admin work, but it’s the insurance policy.
My checklist here:
- Certificate of Compliance: Does the shipment have a certificate matching the panel model and serial number range? For projects in Australia, we need CEC-listed panels. For US projects, UL certification is non-negotiable.
- Warranty documents: Jinko offers a 25-year linear power warranty and a 12-year product warranty. But you need the correct paperwork. Without it, warranty claims get rejected.
- Shipping documentation: Bill of lading, packing list, and any inspection reports from the factory. If the factory did an EL test, I want to see the report. Per Jinko’s standard process, EL testing is done on a per-batch basis. I ask for the test results for our specific lot.
If I could redo one thing from my early days, I’d invest more time in reviewing the compliance paperwork before accepting the delivery. At the time, I figured the panels arrived, they looked okay, that was enough. But it cost us a contract with a utility-scale developer when we couldn’t produce the CEC certificate for a batch that had already been installed. The developer required a full re-test at our expense. That was a $15,000 lesson.
Final Thoughts: What I Wish I Knew
There’s no shortcut here. A solid inspection process takes time, but 5 minutes of verification beats 5 days of correction. Most of the expensive mistakes I’ve made came from rushing through one of these five steps.
One more thing: This checklist is for initial acceptance of a delivery. If you’re storing panels for more than 30 days before installation, you need a second inspection before install—exposure to humidity and thermal cycles can create problems that weren’t there at arrival.
As of January 2025, Jinko’s standard operating procedure includes a factory EL test on 100% of Tiger Neo panels before shipment. But that doesn’t mean you should skip your own check. Factory tests catch obvious defects; they can’t predict what happens during shipping.
Bottom line: Trust the process, not the label.